Configure Database User
In this video series you can see how to connect Ozeki SMS Gateway and MySQL database server for SMS messaging. This video shows how to install and configure a Database User on Ozeki SMS Gateway.
Video content1. Install database user
2. Connect to database
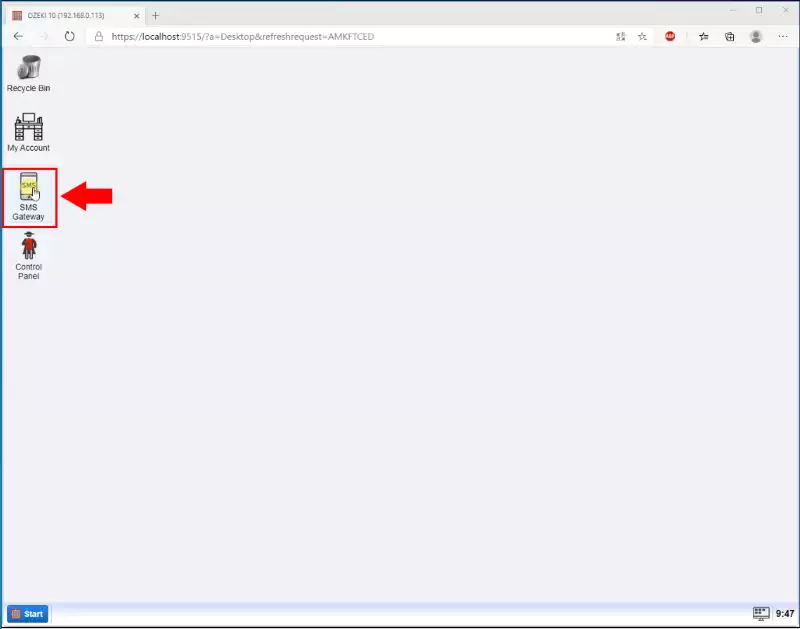
First, you need to open the SMS Gateway on the computer you wish to use as a database user. To do this, search for the icon you can find on Figure 1. Click it twice to run the program.
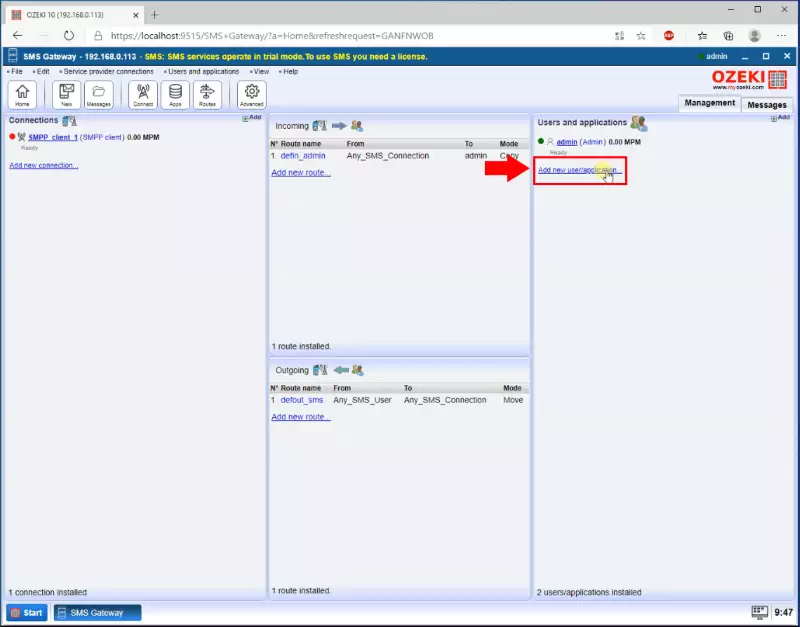
Now that you are in the Ozeki SMS Gateway. please add a new user application. You can do that with the dedicated button on the right side of the panel. Search for the “Add new user application” button. You can find it with the help of Figure 2. Click on it to start the process.
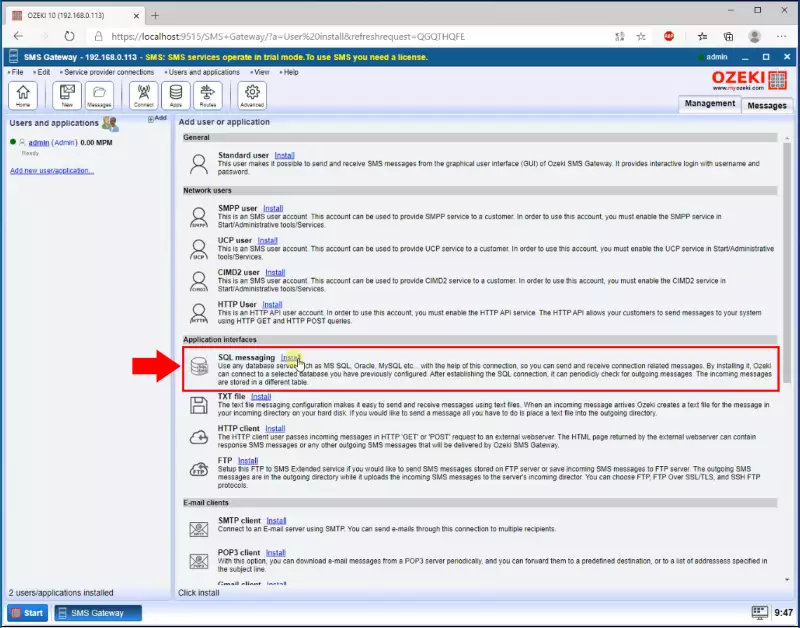
Now you have to select the application interface you wish to use. The Ozeki SMS Gateway can handle many interfaces. You can see your options on Figure 3. In this case, you need to choose the SQL messaging option. Click the “install” button to start the procedure.
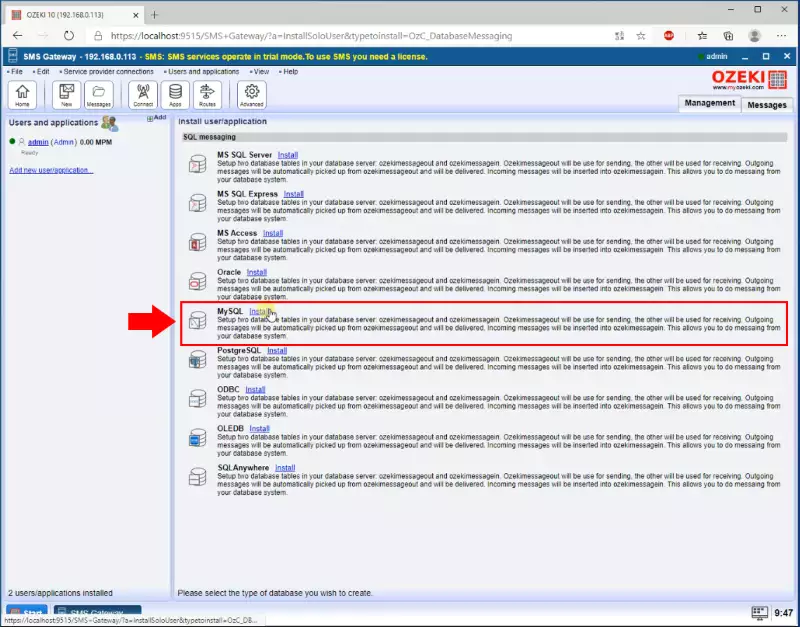
Here you need to select the SQL Management software you want to use. In this scenario, you need to choose MySQL. Click the blue “install” button to proceed. You can find the button on Figure 4.
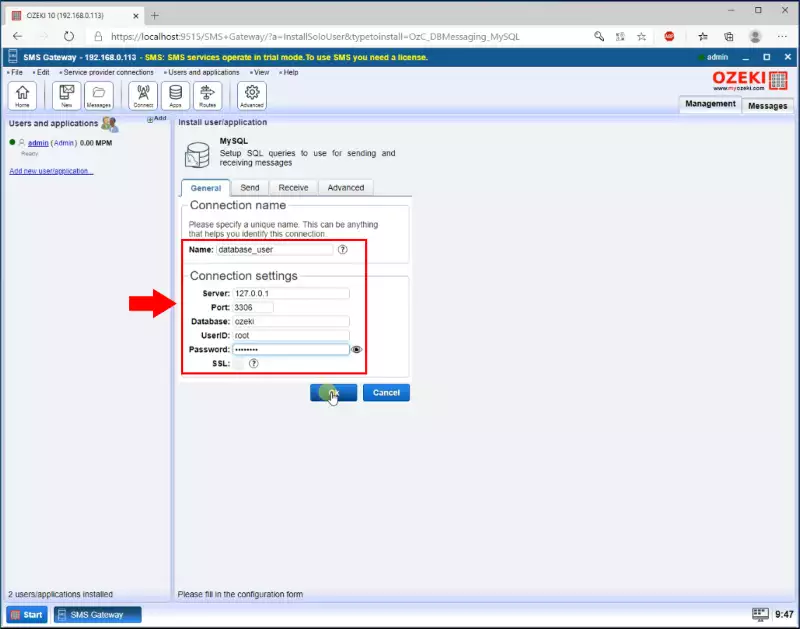
You need to configure your connection now. On the “connection settings” panel, you could make all your important customization in order for your database user to work. You can find an example configuration on Figure 5.
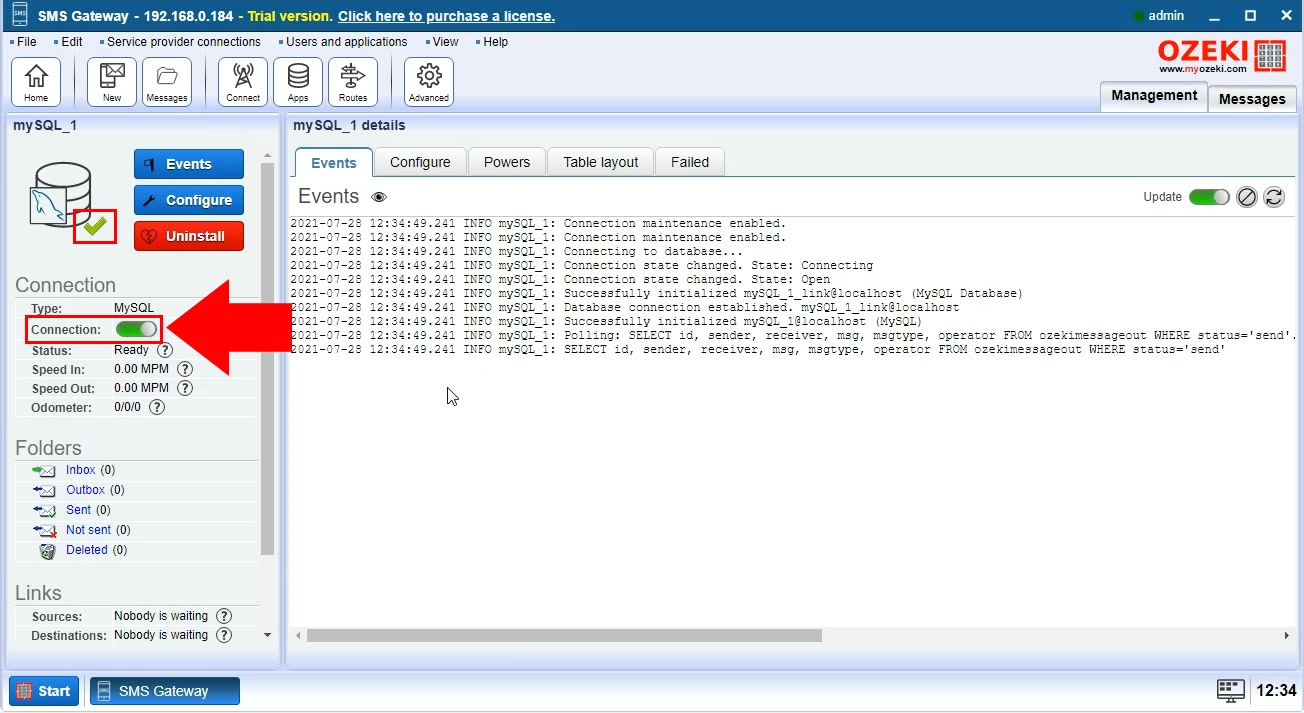
Now you have a working connection, you just need to turn it on. You can do that by finding the “Connection” switch on the left of the page. Click on it and it will turn green. You can find the switch on Figure 6.
More information
- MySQL basics
- Windows 11
- Send SMS from mySQL
- Database tables for storing SMS in mySQL
- Connect mySQL to the SMS gateway
- Send a test SMS from mySQL
- Encrypt MySQL database

 Sign in