
 Sign in
 SMPP over SSL/TLS
This guide gives you the instructions to follow if you wish to use SMPP over a secure SSL/TLS connection. SMPP over SSL/TLS has 3 main advantages: The network traffic between your system and the system of the SMS service provider will be encrypted. You will be able to validate the identity of the SMS service provider, which is great, because you can detect a Man in the Middle attack this way, and finally the service provider will also be able to verify your system if you setup client SSL certificates. Ozeki 10 SMS gateway supports all of these options.
How to setup a secure SMPP client connection
To setup a secure SMPP client over SSL/TLS:
- Open the security app in Ozeki
- Generate an SSL certificate
- Save the SSL certificate
- Check "Use SSL" in the SMPP client config
- Upload the SSL certificate
- Enter the certificate password
- Connect to the SMPP server
- Send a test SMS over the secure SMPP client link
How to setup a secure SMPP client connection (video)
This video takes you through the steps of setting up a secure smpp SMS client connection that operates over an SSL/TLS links. It shows you how you can generate an SSL certificate to be used for authentication, and you will see how to configure this certificate and how to enable SSL encryption over the SMPP link. You will also see how an SMS is sent and how the SMPP submit_sm pdu can be viewed in the logs.
Secure SMPP link configuration steps
Open Security app from the Start menu.
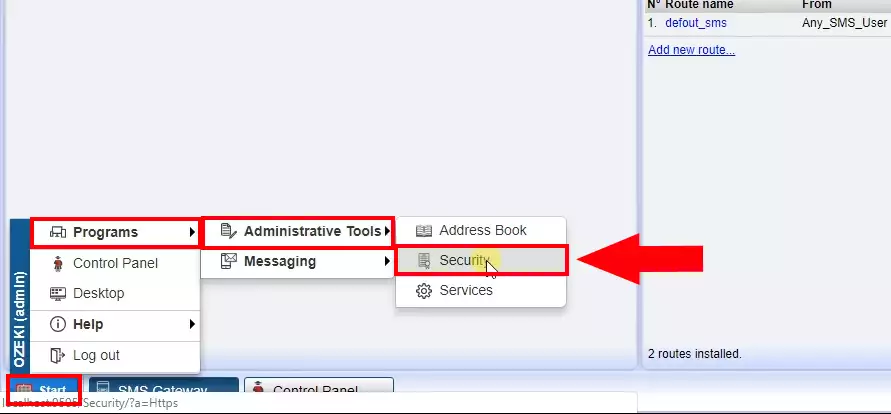
Figure 1 - Open Security app
Create a Signed certificate.
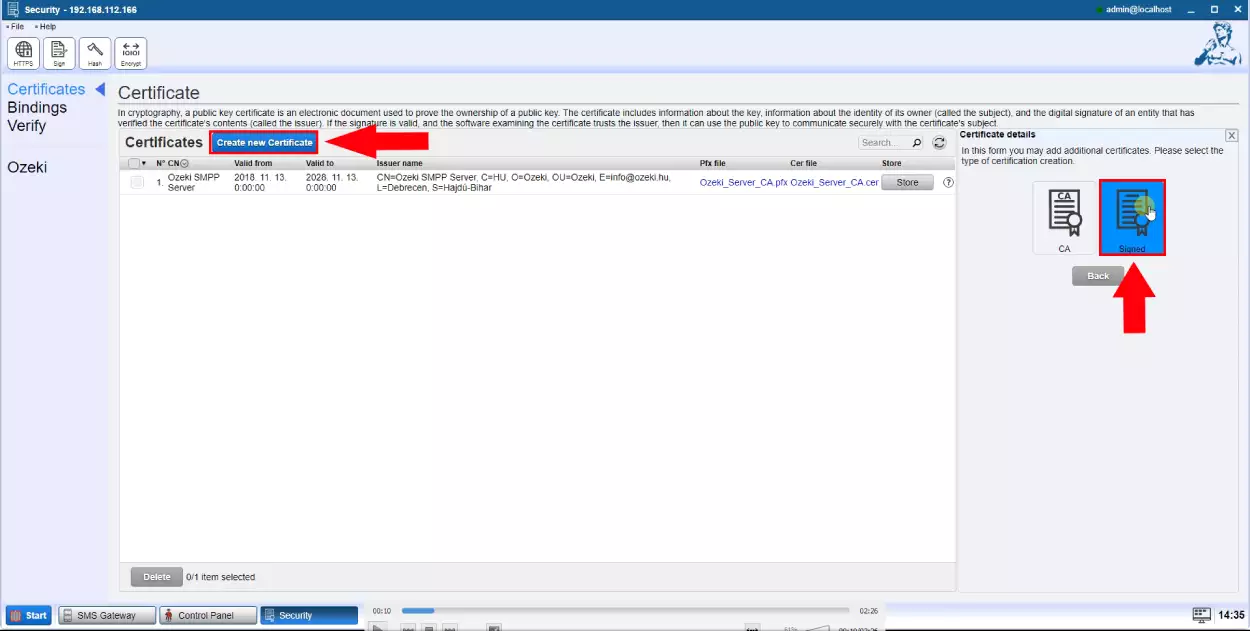
Figure 2 - Create Signed certificate
Specify the certificate details.
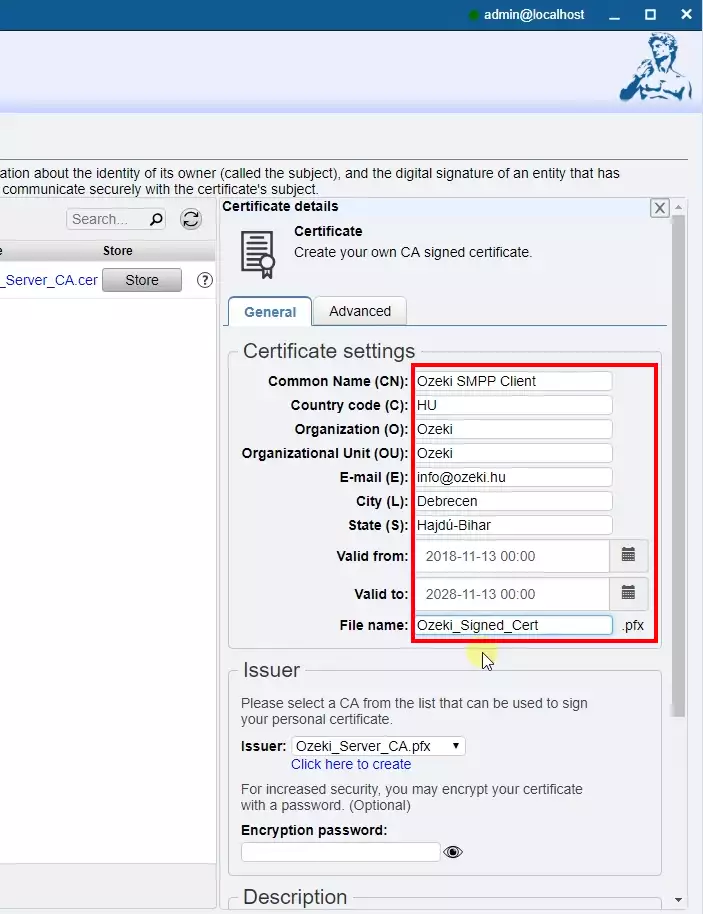
Figure 3 - Provide certificate details
Provide the password for the created certificate. Then click OK.
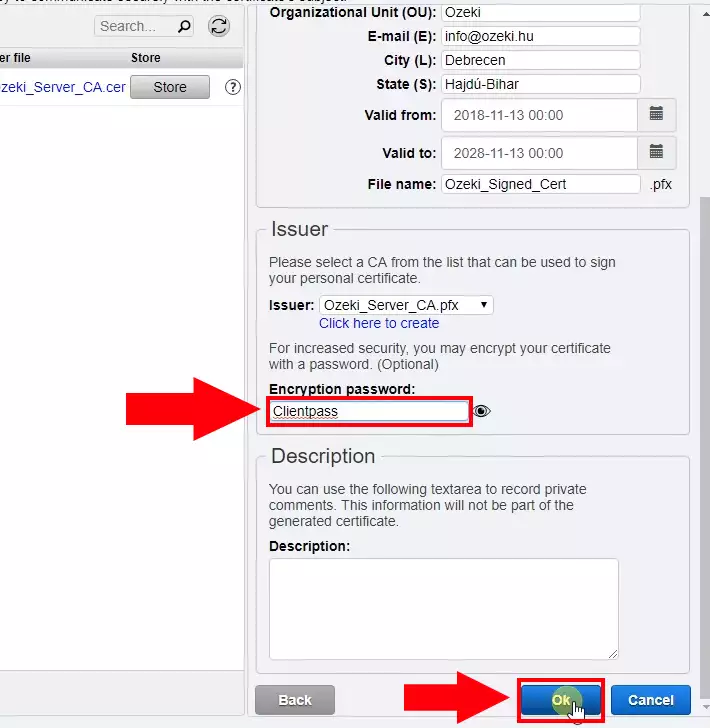
Figure 4 - Provide certificate password
Download the certificate and send it to the client.
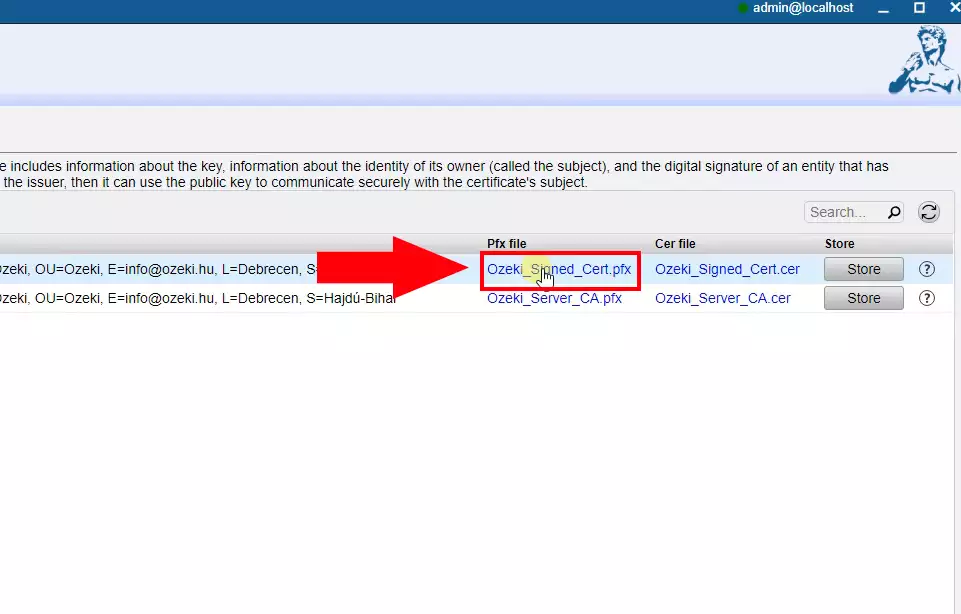
Figure 5 - Download certificate
Enable SSL connection on the SMPP client.
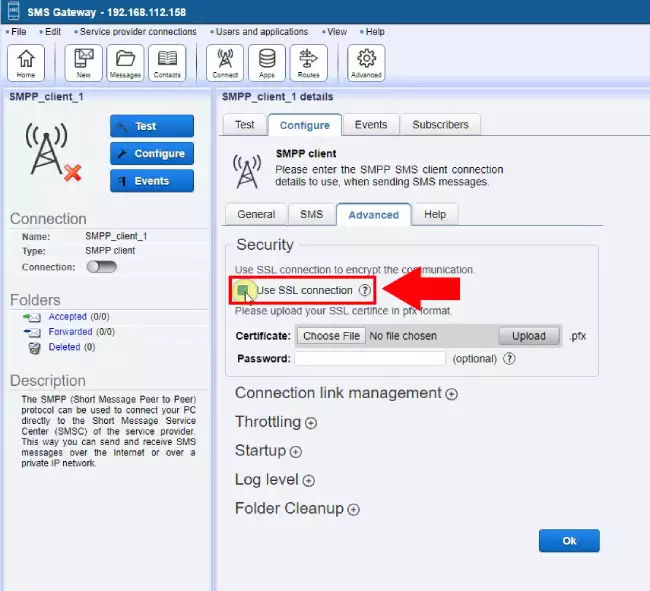
Figure 6 - Use SSL connection
Upload the Signed certificate.
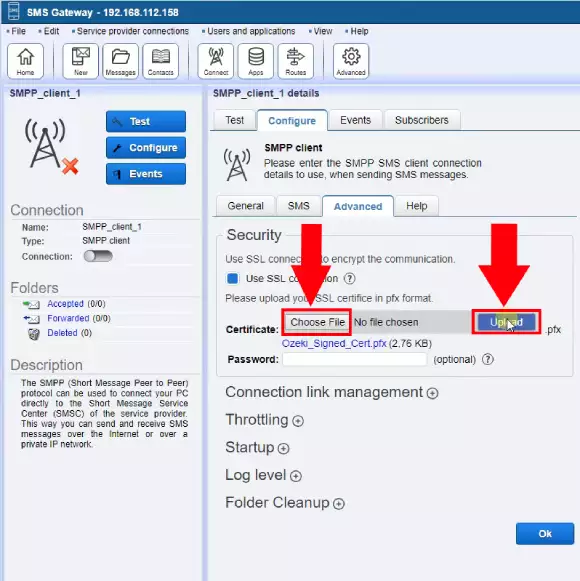
Figure 7 - Upload certificate
Provide the certificate password and then click OK.
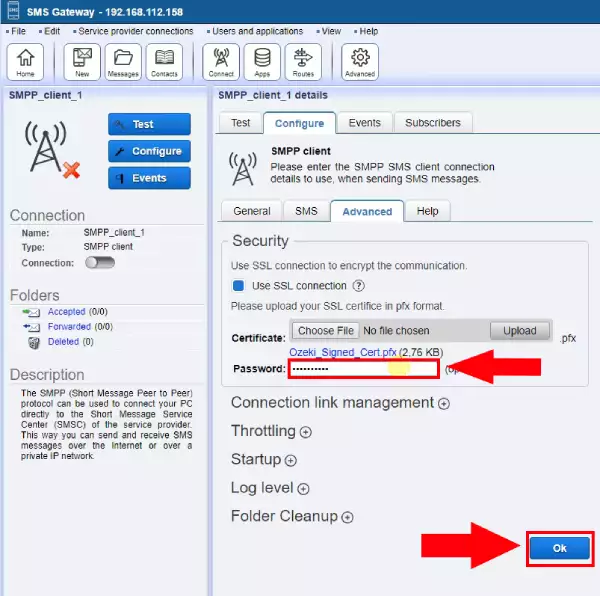
Figure 8 - Provide certificate password
The secure connection successfully initialized.

Figure 9 - Successful secure connection
Now try to send a test message.
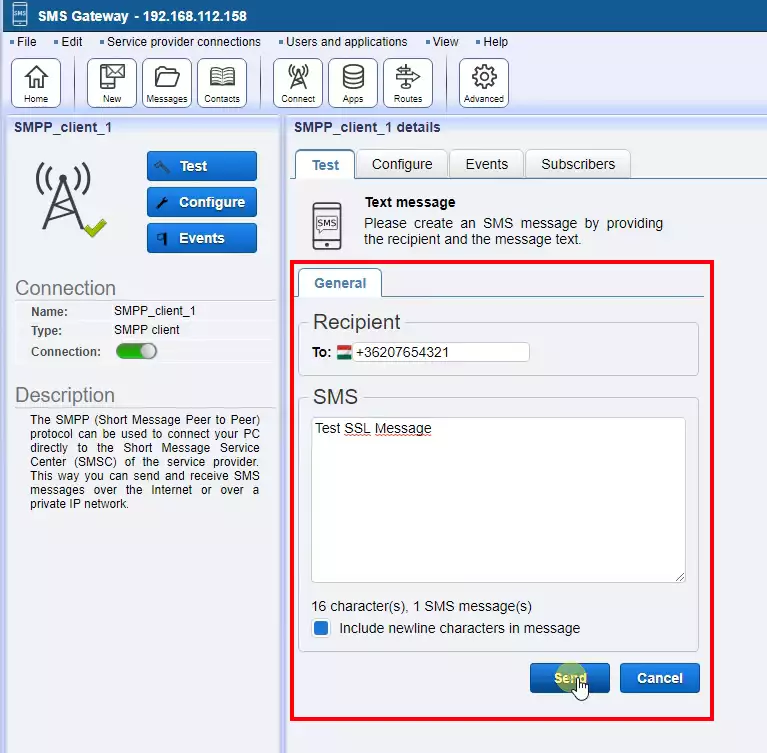
Figure 10 - Send test message
The test message successfully sent.
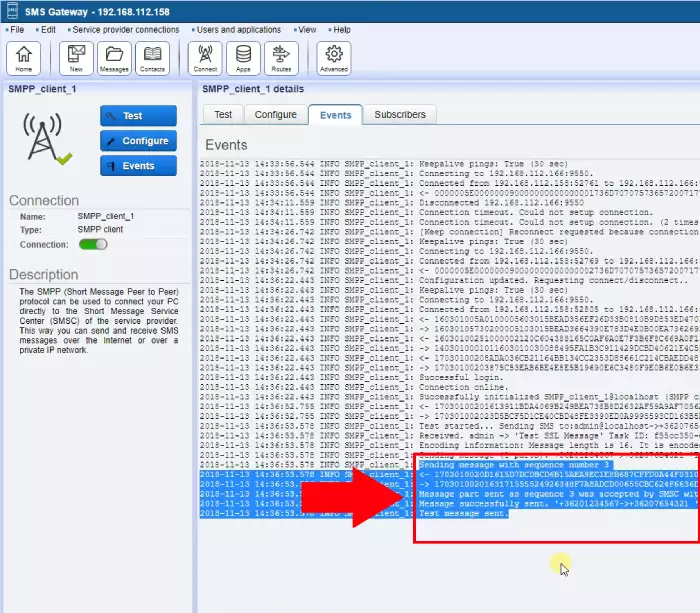
Figure 11 - Message successfully sent
More information
- SMPP specification
- SMPP PDU logging
- Throttling error
- How to use SMPP API with programming languages
- Secure SMPP connection over SSL TLS
- SMPP delivery report format
- What is an SMPP simulator
- SMPP error codes
- SMPP network bandwidth calculator
- How to send a test SMPP SMS message
- SMPP PDU decode
- SMPP Character encoding
- SMPP wireshark